Workspace Types
When creating a workspace, choose the type that matches your workflow:Agent Workspace
Run threat modeling locally with your coding agent via MCP. Analyse any repository and upload results to Oplane. Best for developers running threat models from their IDE (Cursor, GitHub Copilot, Claude Code, etc.).Managed Workspace
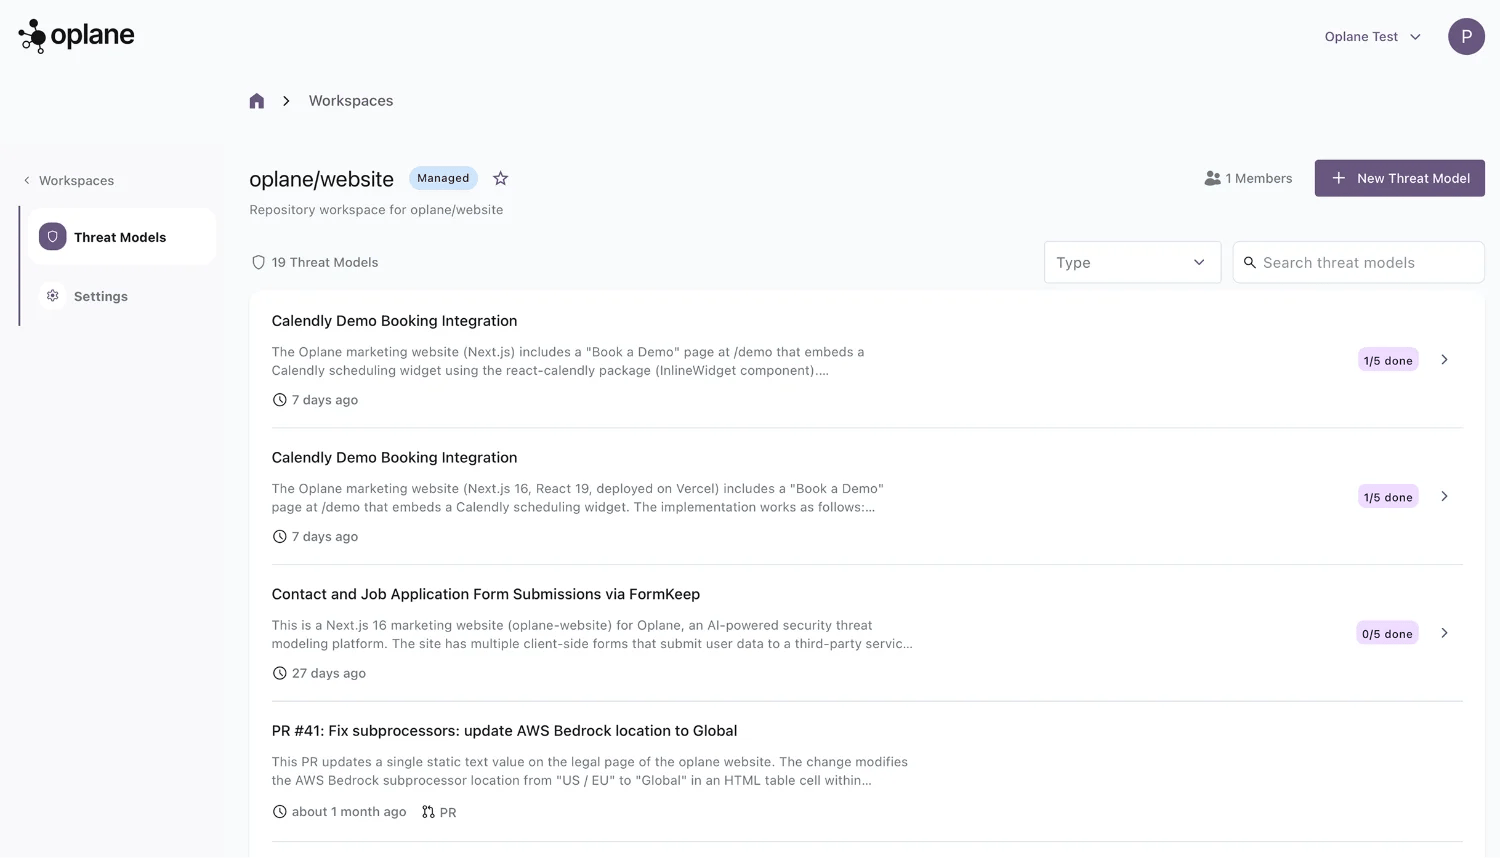
Let Oplane model threats in the cloud and continuously analyse changes across pull requests. Tied to a specific Git repository for automated PR/MR reviews.Creating a Workspace
Agent Workspace
To create an Agent Workspace, click + Workspace in the top right corner and select Agent Workspace:- Enter a name for the workspace (e.g. your project name)
- Add an optional description
- Configure access — add team members by name or email
- Set general access (restricted or open to the organisation)
- Click Create
Managed Workspace
To create a Managed Workspace, select Managed Workspace and link it to a Git repository:- Select your organisation from the dropdown
- Search for and select the repository you want to connect
- Click Create
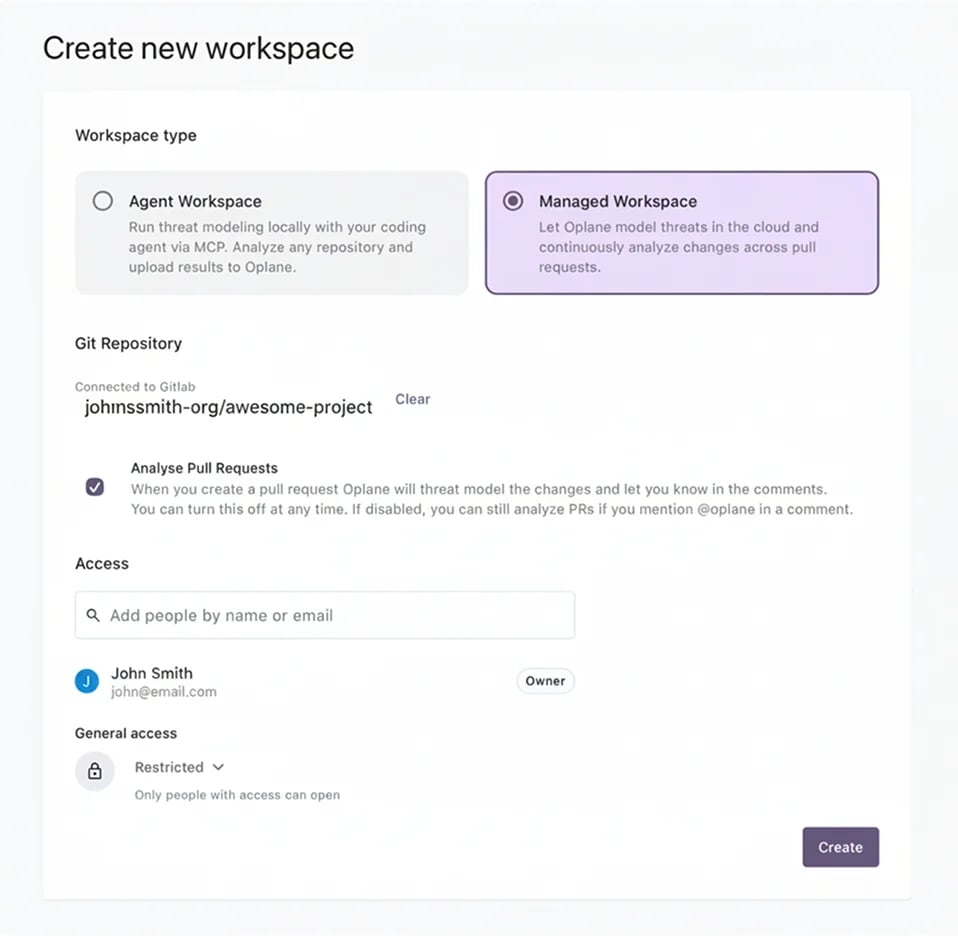
Managed Workspaces require a connected Git provider (GitHub or GitLab). If you haven’t connected one yet, see Connect GitHub or Connect GitLab.
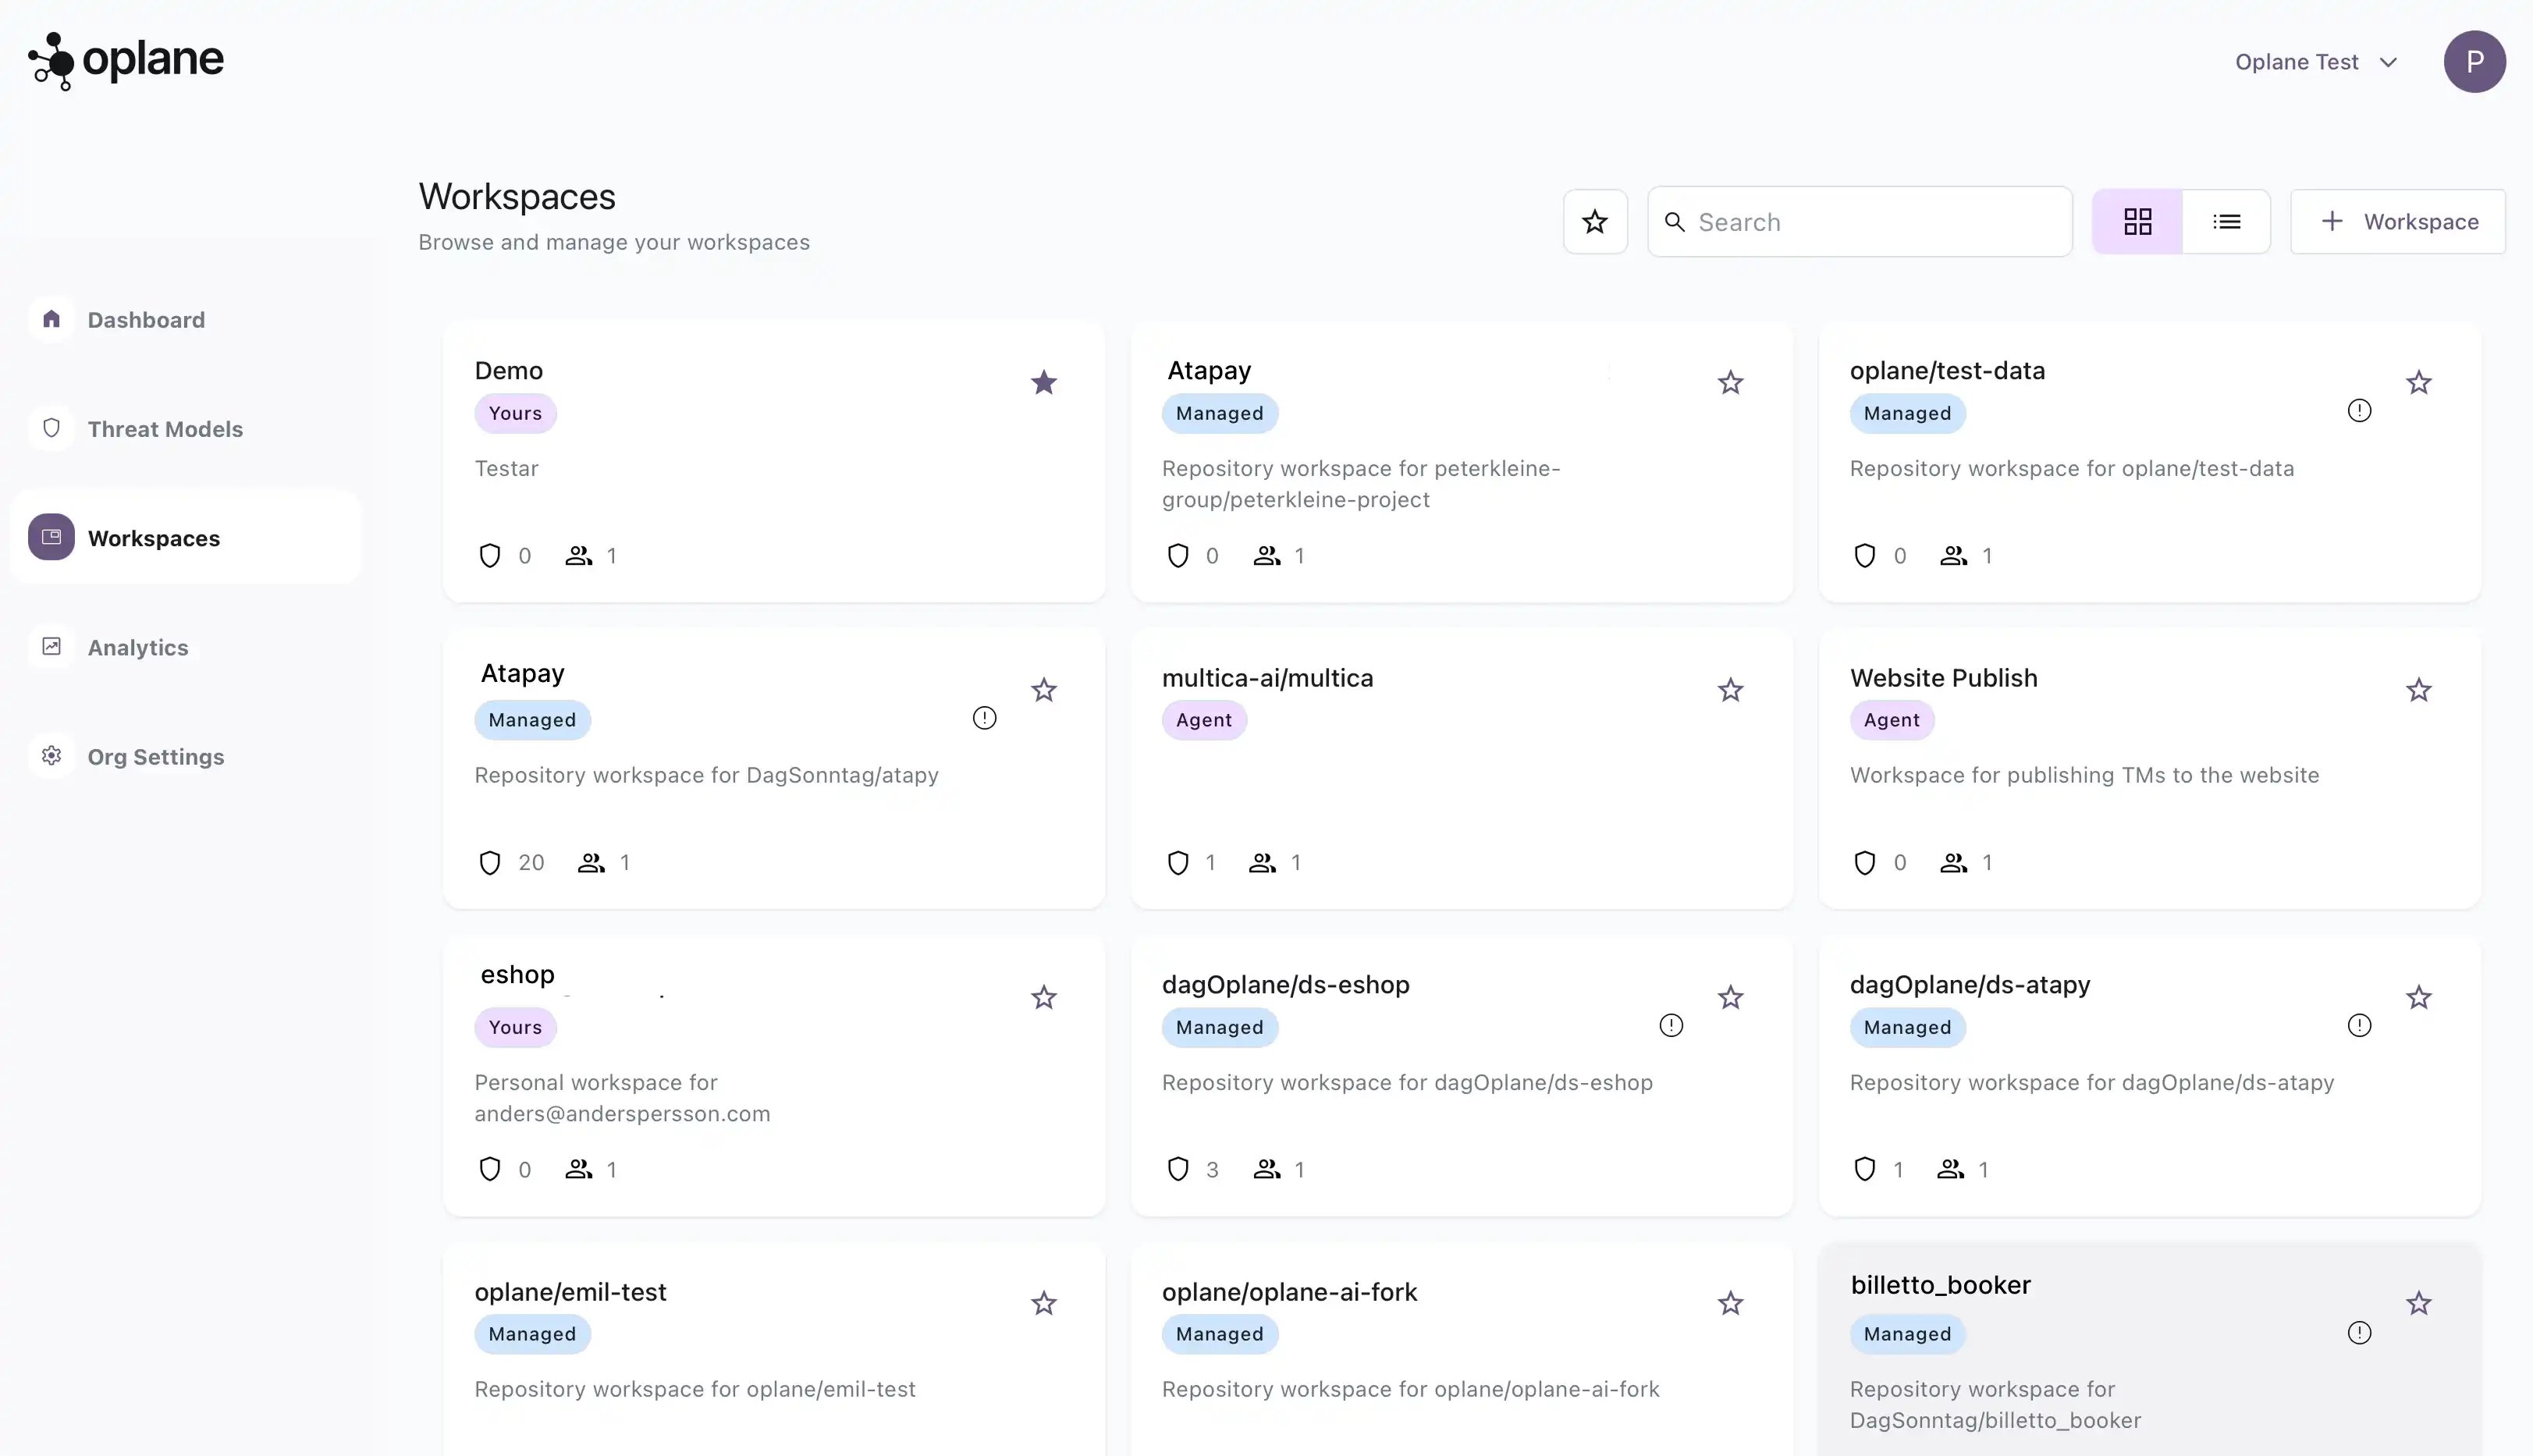
Managing Workspaces
From the Workspaces page you can:- Star workspaces to pin them at the top of your list
- Search across all workspaces by name
- Switch views between grid and list layout
- Filter by starred workspaces only